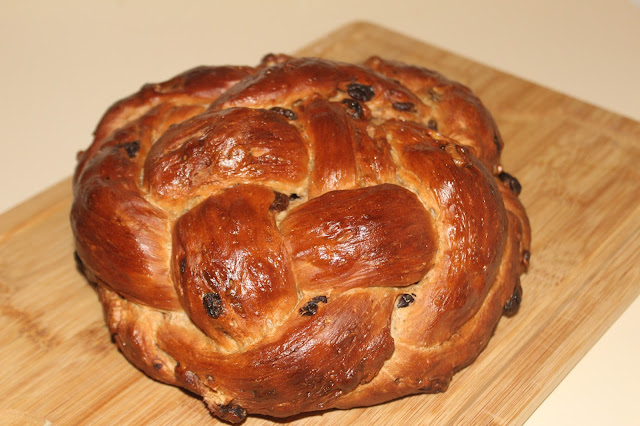
Oatmeal Raisin Bread


While proofing you can prepare your bread pan with a generous greasing of butter. You guys know I love my USA Stoneware Pan, but any bread pan will work well here.
At this time you can also dump the remaining rolled oats onto a baking sheet. Spread them out into a thin even layer as we will be rolling the dough in this pan later.
Retrieve your fat dough baby!
Squish the proofed dough toss it out onto a flour dusted counter. Create a rectangle shape and fold the dough from one edge over to the other and press firmly to seal. I haven't put together a shaping tutorial but I will soon to demonstrate some of the basic dough shaping techniques.
Once your dough is firmly shaped and roughly the size of your bread pan, gently mist the dough with water. If you don't have a spread bottle available, you can wet your hand it gently rub it along the side of the dough.
After a good misting, place the dough on the baking sheet you prepared earlier with the rolled oats and start rolling your dough. As you roll the dough you may want to continue to mist it with water on all sides to make sure you get good adhesion on the side of the dough. If you do not, during your second proof you will notice most of the oatmeal fall off. I made this mistake the first time and ended up with a bald dome on my loaf. Still delicious, but much less attractive.
Place your oat covered dough into the bread pan and allow it to rest for 30 minutes. The dough should come up and over the edge of the bread pan by about 2-3cm. Do NOT over proof your dough at this stage. It will result in a loose crumb with air bubbles in the top half of your dough.
Preheat your oven to 350F/175C.
Give the top later of the dough a final misting with water before tossing into the oven for 50-60 minutes. Rotate the dough at least once during the bake time to keep things even. Look for an internal dough temperature of at least 205F/96C. Once the bread is at the target temperature remove and allow to cool on a rack.
The sprouted flower will retain a large amount of moisture at the end of the bake, so please let the bread cool completely for a few hours before enjoying. Or don't and eat it while its fresh and hot - that is your baker's privilege.
If you have never used sprouted flour before, I included a link to the King Arthur's Sprouted Flour, which is what I used in the recipe. I have tried a number of flour brands and King Arthur has been the most consistent brand I have come across. They are on the pricier side, so feel free to substitute for your preferred flour where necessary.

If you don't have sprouted flour, you can easily substitute more bread flour in its place or another hearty flour like whole wheat.
Thanks for taking the time to read over my recipe adaptation. I went through a number of attempts and think I found a great mix for a bread that is a fantastic breakfast treat. It also makes for some killer French Toast! The original recipe can be found in Bread Illustrated. I highly recommend the book. It has a great number of recipes that are tailored for home bakers and I haven't been let down by a single recipe.
Comments
Post a Comment